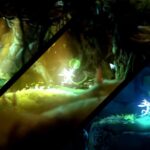
In this post, I’ll show you a step-by-step walkthrough of the Inkwater Marsh map in Ori and the Will of Wisp. This will be the first of a series of guides I’ll be posting.
Following everything in the main walkthrough, including the area completion section will take your Inkwater Marsh map completion to 100%.
Shall we start?
Video Walkthrough
Content overview
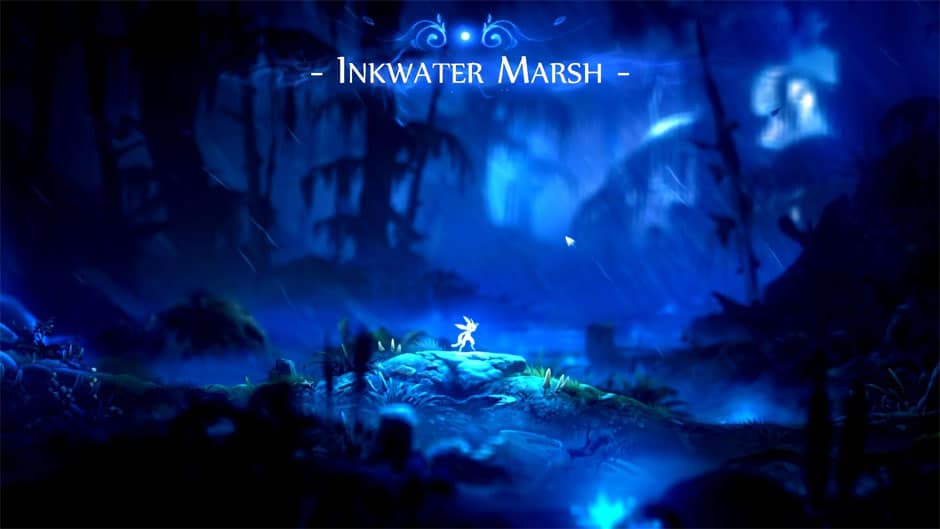
Inkwater Marsh Start
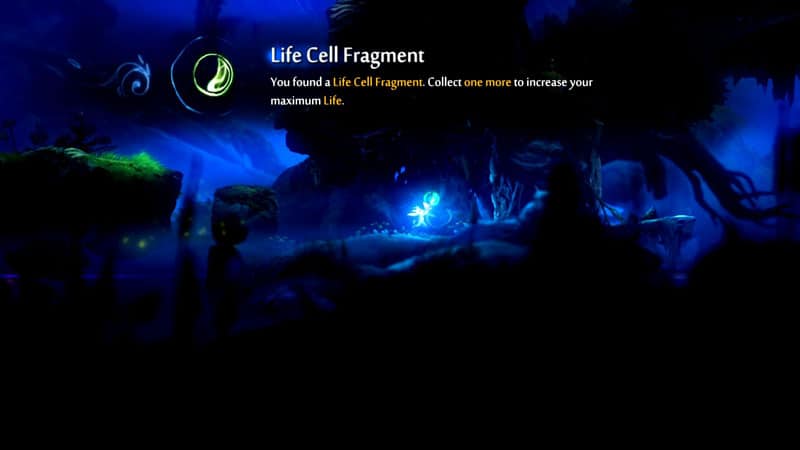
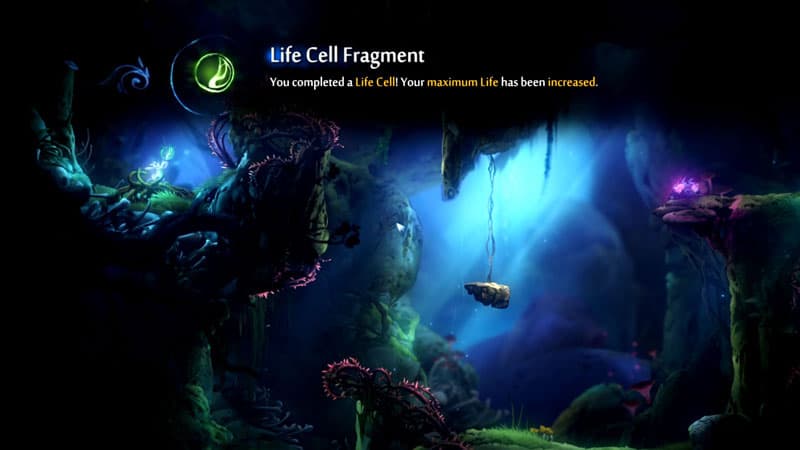
Item(s) you can get: 1x Life Cell Fragment, 1x Spirit Light Container
Once you control Ori, go all the way to the left until you see a snail monster. You cannot attack it at this point but your goal is to move across the river and get the Life Cell Fragment on the other side of this area. You can still get this later in the game but the earlier the better, right?
To do this simply:
- Jump your way to the platform across the river
- Climb the small wall where you’ll get a life orb at the top
- Jump across the small platform to the right. Be careful as the ground in the middle will collapse as soon as you’re near it
- Crawl your way up and then jump and move all the way to the left and use the vines to give yourself momentum to jump across the stone figure with the direction to Luma Pools
- Go down and move the boulder to get the Life Cell Fragment.
Once you got it, go back to the starting point and then move to the right. Get the Small Spirit Light Container just below the life orb (green plant thingy) that you’ll come across and then continue moving to the right. You’ll fall from the large tree branch but that’s where you’re supposed to go. If you somehow manage to jump across the branch, you’ll meet a dead-end anyway.
Once you fall, continue all the way to the right and get the light fragment. Then go back to the small platform on your left and drop down the small tree branch. Move to the right until you see another green orb. Get it to replenish your life, otherwise, drop down to the ledge since it’s a dead-end if you continue moving right.
Continue going down and look to your left. You should find a couple of Moki gathering towards a small fire. Approach it and then grab the torch. You can now attack monsters. It’s about time, right?
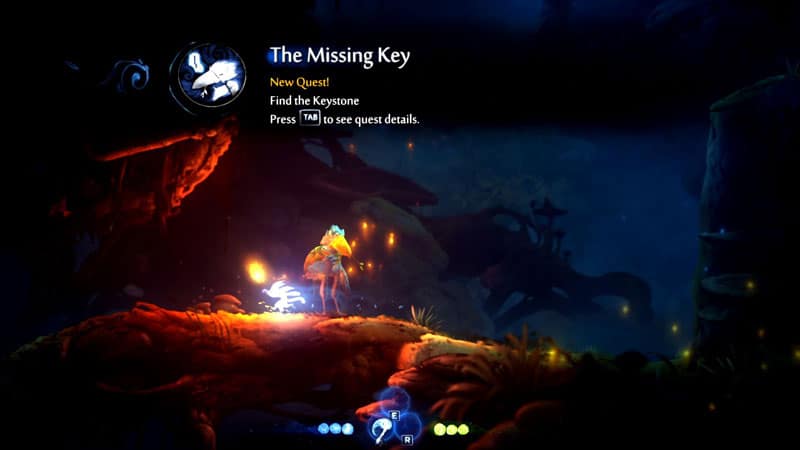
Continue to moving to your right until you see a small path to left and downwards. Go all the way down and to your left, you should see small tree roots. Attack it with your torch then work your way leftward so you can talk to the bird NPC, Tokk.
You now have a new quest, find the Missing Key.
RELATED: All Life Cell Locations in Ori and the Will of the Wisps
The Missing Key
Item(s) you can get: 2x Keystone
From Tokk, go to your left and then drop down the ledge to get the Spirit Orbs. Once down, go up and then continue moving leftwards. Once you encounter the 2nd snail monster, you’ll find that you cannot jump high enough to continue moving leftwards. That’s fine, your destination is downwards.
Once you reach the bottom, go right and get the life orb. Then go down from the ledge. On your right, attack the roots with your torch and get the spirit fragments. Once you continue towards the left, you will have to fight the feral cat thingy monster. Once you defeat it, it will open a path to the left.
Approach the waterfalls then you’ll get a little tutorial saying that Ori and crawl and cling to the blue moss. It will extinguish your torch weapon. That’s fine though, we’re getting a better one soon.
Crawl your way up using the blue moss until you reach a flat ground to your left. There is nothing to do if you continue all the way to the left so ignore it for now. Instead, hop to the small rock so you can cling to the blue moss at the top. Work your way up to the top in a zigzag pattern by following the blue moss and you should see one of the keystones you’re looking for.
Once you got the keystone, follow the blue moss trail to your right. This will send you back to the previous area back to Tokk. Talk to him and he will give you another keystone.
Once your quest has been updated, go all the way to the right back to the previous area. You now have the keys needed to open the blocked path. Now prepare yourself for a boss chase. This is my favorite feature of this game.
Howl Boss Fight
Item(s) you can get: None
Insert the two keystones through the door. There are no other secret items you can get here so just continue moving forward to the right. Make sure to take the life orb along the way, you’re going to need it for the boss fight.
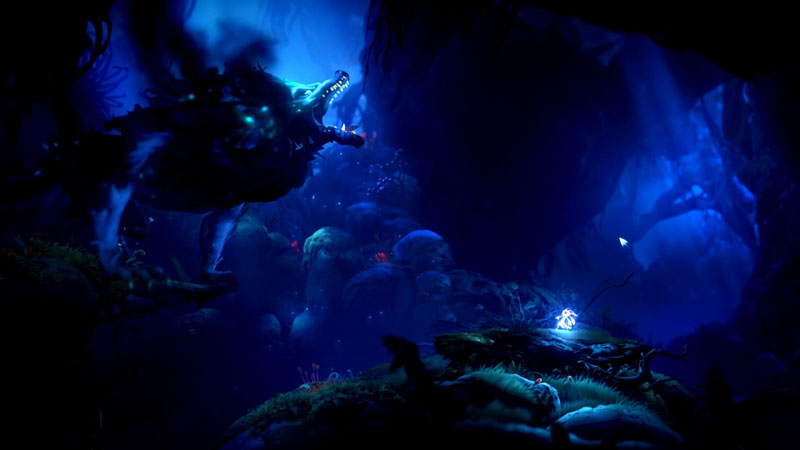
There will be a cutscene showing a big bad wolf. Just run to right while making sure to go over any obstacle smoothly. Also, try jumping when it looks like the wolf is going to bite you. Soon you will reach the area where you’ll find a torch to fight it off.
Here’s a little tip when fighting this boss. Just go to the right-most portion of the area and wait for the boss to come at you. Once its head is at your reach with a single jump, attack it twice then go back to your position. The boss will be knocked back then will do the same pattern. Just repeat this pattern until you defeat it.
Once you’ve dealt a certain amount of damage, Howl will retreat and a new area will be available for you. Now it’s time to get ourselves a spanking new ability…
Spirit Edge Ability and Magnet Spirit Shards
Item(s) you can get: New Spirit Shard, New Ability, 1x Spirit Light Container
Continue moving to the left until you see a downward path. Jump to the opposite platform to the left and then climb the wall perpendicular to it to get the secret light orbs. Now go all the way down to reach a new map, Howl’s Den.
From there move to the right and you should see a Moki who’ll run off on you as soon as you saw it. You will notice a ledge where you can go downwards from but ignore it for now. Aside from life orb, there is nothing to do down there until you get your new ability.
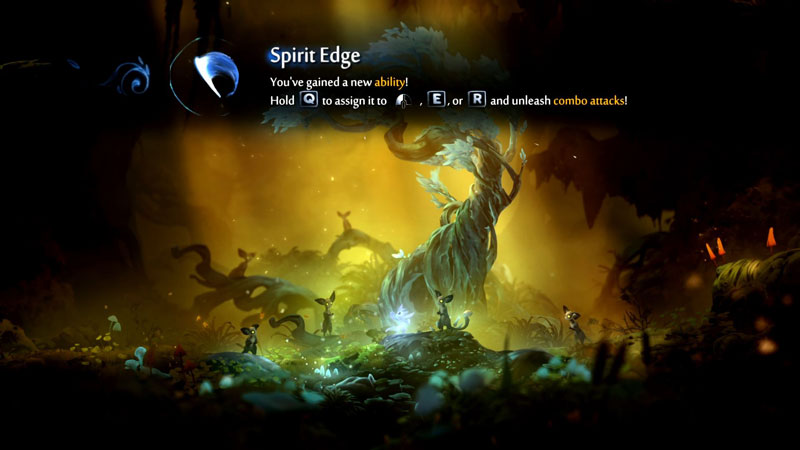
Continue moving to the right and you should see a white tree soon enough. Approach it and you will get the Spirit Edge ability and a quick cutscene.
Equip spirit edge and then move to the right. Attack the roots with your new ability to remove the obstacle and then move your way up in a zigzag pattern while killing monsters along the way.
At the top-most area where you’ll fight the feral-cat monster thingy, you should see a root obstacle at the top right corner. Attack it with spirit edge to get the Magnet Spirit Shard. This is a very useful shard as it will lessen the hassle of collecting spirit orbs and life orbs from the monster drop.
From there, jump across to ledges to the left and destroy the roots at the end of it. You should arrive in the area right before you went down to the white tree. Continue moving to the left and the meerkat looking animals called Moki’s will come talking to you.
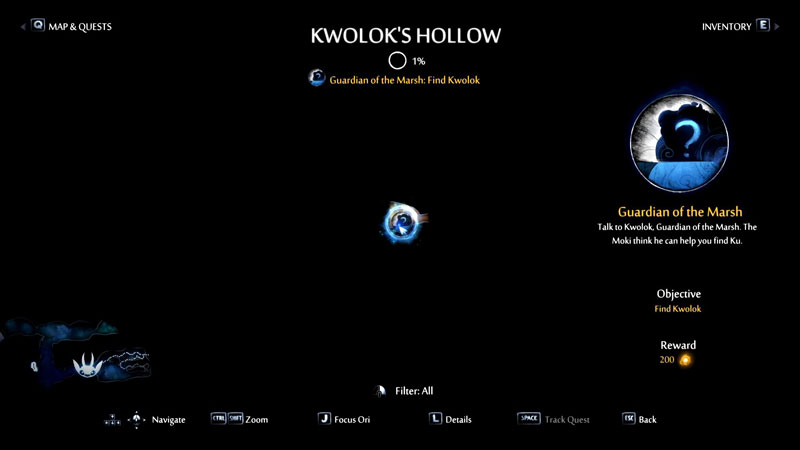
You now have a new quest to find the Guardian of the Marsh at Kwolok’s Hollow. Before we can actually go there though, we need to find a few more abilities.
Double Jump Ability and Sticky Spirit Shard

Item(s) you can get: New Ability, New Spirit Shard, 2x Spirit Light Container,
Go down to the ledge we previously ignored and attack the roots blocking the path using Spirit Edge. From there, your only option is to go down. Move to the left and attack the roots to get the secret spirit light container. Then go back to the ledge and then go down.
Once you reach an even ground move to the right to find the Spirit Well (save point). You can replenish your life (while saving the game) or warp to other spirit wells from there. You’ve only unlocked one spirit well for now so there is no option to move to other wells.
From the save point go all the way to the left until you arrive at an area with a huge boulder. You will also notice a downward path but ignore it for now. Going back, you can push and pull this boulder. Just use it so you can jump to the other side of the area and then continue going to the left.
You will see another downward path here, just ignore it too and continue to the left. You should arrive at an area where you’ll be locked until you defeat all enemies. Once you defeated all the monsters, drop yourself down from the log. Once you land, move to the right and get the secret spirit orb container.
If you go left, you should be able to get the Double Jump ability. Equip the double jump ability and get the Sticky Spirit Shard found at the upper right corner of the same area. Just climb the wall on the left until you reach the proper height to double jump your way to the stick spirit shard. The sticky spirit shard is extremely helpful since you don’t have to keep on hitting the jump button when crawling walls.
Collecting the Two Keystones
Item(s) you can get: 2x Keystones
Once you get both the spirit shard and the new ability, go right then go down. You will see a feral cat monster here. Work your way up through the thorny area. You’ll notice that you’re back in the same area you’ve crossed before.
From here, use your double jump ability to the log in the middle. You need to go back to the same area right after the save point. Once you reach the area before the save point, go to the downward path this time (it’s the area with snail monsters). You should find a lever here. Double jump your way to the lever and then pull downwards so the platform on the other area goes down.
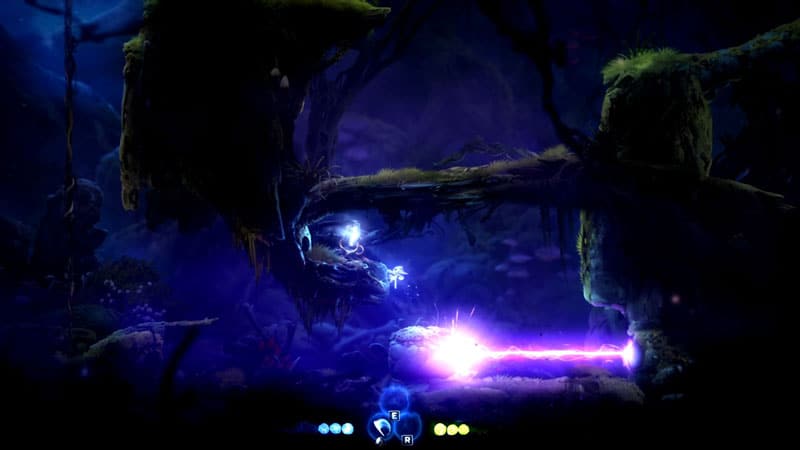
Go to the area where you saw the platform going down. And then use the boulder to block the laser so you can get the first keystone at the ledge above. One down, one to go.
To find the other keystone, you need to go back to the area where you found the locked door.
Here’s the direction:
- Go up out of the area with the laser then go to the right. You will be back in the same area before the save point. Just go all the way up until you reach the platform where there is a hanging fruit thingy.
- From there go left, and you should encounter the monster who likes to jump a lot. Just before the door, you should be able to see a wall that you cannot reach before.
- Use double jump to work your way up. At the top, you should see the second keystone.
Now that you got the two keystones, insert it through the locked door. It’s time to move forward to our main quest and get past Howl’s Den.
Exiting Howl’s Den
Item(s) you can get: 2x Life Cell Fragments
You’ll be greeted by a poisoned pond. Jump across the poisoned river. On the upper platform to your left, there is a cracked wall. Attack it with your Spirit edge. A secret path is now open for you.
Jump to the left and cling to the wall in front of you. You should see a ledge below it. Drop there and then cling to the blue moss to your left. Continue leftward and the trek your way up until you see a snail monster that spits fireball. Kill it and jump to the hanging rock platform above.
Once there, jump and cling to the wall to your left. There you should see a life cell fragment on the upper platform.
To exit, go back to the hanging rock platform and then proceed to the right. Below it, you should see a hanging ledge. Drop there and then jump to the platform to your right. You should be back in the area before the secret path.
From there, work your way up and you should see a blocked path at the top. Attack it with the spirit edge. Move to the right then jump across the opposite platform to the right. Destroy the bones blocking the path then continue moving to the right. At the end of the path, you should see a wall of cracked rocks.
Attack it then get another Life Cell Fragment.
Jump to the upper platform to the left then continue moving in the same direction until reach the blocked path. Once you destroyed it, jump to the upper platform then crawl the wall to the left to find the secret spirit orbs.
Once done, jump the platform to the right where you’ll meet Mokk the Brave. Talk to him and he will give you a side quest “A little Braver”.
A Little Braver Side Quest
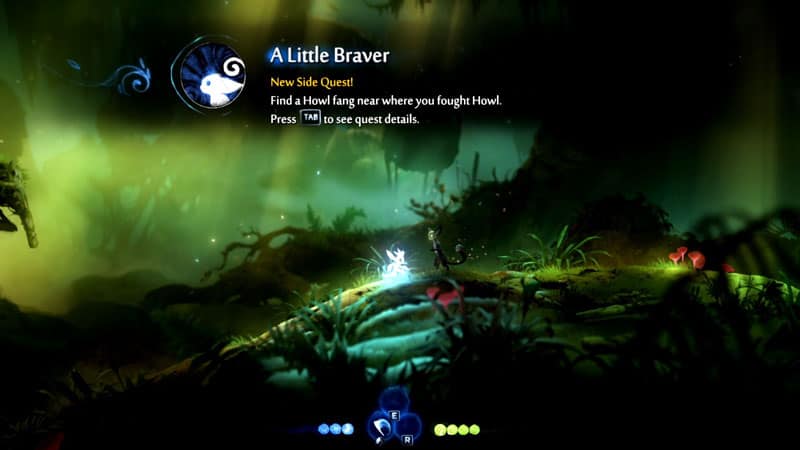
Item(s) you can get: Gorlek Ore
Once you’ve got the side quest, move to the right then climb the wall and fight the feral cat thingy monster. Continue moving to the right then use double jump to cling to the small tree branch so you can reach the hanging vines. This will allow you to go to the upper platform.
From there, you will have to jump a couple of times to reach the far end of the area and get Howl Fang. Bring it back to Mokk the Brave and you will be rewarded with a Gorlek Ore.
Now we can continue with our other goal, new ability and spirit shard.
RELATED: All Gorlek Ore Locations Guide
Regenerate Ability and Reckless Spirit Shard
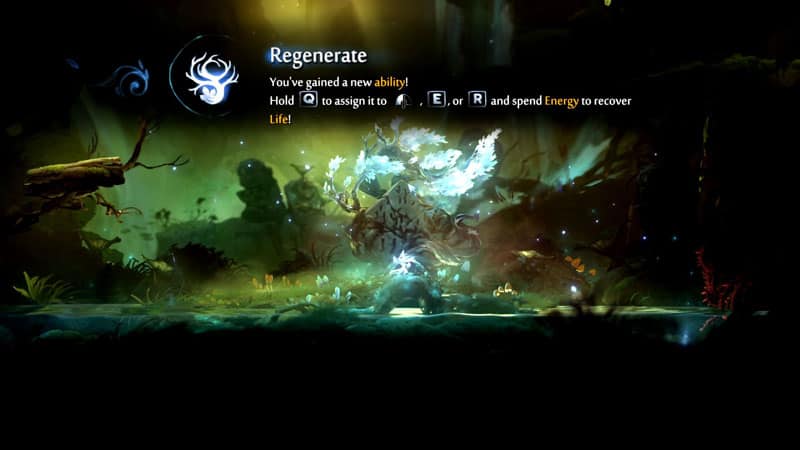
Item(s) you can get: New Ability, New Spirit Shard
From the Moki NPC (Mokk the brave), use a double jump to reach the upper platform to your left. Continue moving to the left and you’ll encounter snail monster followed by the jumping monster dude. On the lower-left side, you should notice a secret blocked path that you can destroy so you can get the Reckless Spirit Shard.
Once you got the spirit shard, jump to the upper platform. Continue to the path and you should see a white glowing tree. Congratulations, you now have now acquired a new ability, Regenerate. This is one of the most useful abilities in the game. It allows you to recover life in exchange for energy.
Now it’s time to get back to our main quest.
Resilience Spirit Shard
Item(s) you can get: New Spirit Shard, Rumor Quest, Inkwater Marsh Map
From the glowing tree, go to the upper platform to your left side. Continue moving forward to the left until you see the previous are where you first got your torch weapon. From there, you should be able to reach the upper area using a Double Jump.
Continue trekking your way up until you reach the top. On the right, you can purchase the full map of Inkwater Marsh from Lupo. Once you bought it, continue on the path to the left.
You will encounter a few monsters including the jumping monster dude. To your left, you will see a blocked path you attack using your spirit edge. There, you can get the Resilience spirit shard.
From there go back to the previous area and use a double jump to cling to the wall to your right. Once you reach the top, ignore the path to the left for now and continue moving to the right. Attack the roots blocking your path. Continue rightwards you should meet Opher the weapon master.
He will offer you a deal for your first purchase and you can buy any combat abilities for 400 spirit orbs. The next one will cost 800. I recommend getting the Spirit Smash ability so you can get to some secret paths and items early on. This ability is also better than the Spirit Edge for your main attack.
After you’re done purchasing a new ability, we will also give the Inkwater Shrine rumor quest.
The Inkwater Shrine Rumor
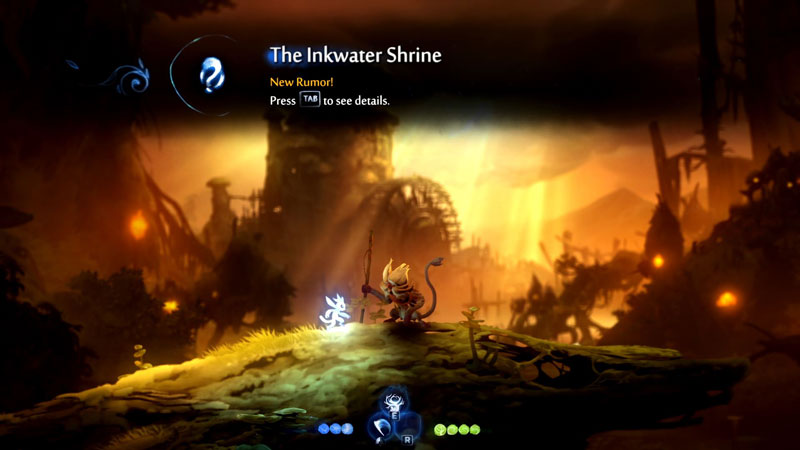
Item(s) you can get: 1x Gorlek Ore, Shard Slot Upgrade, 1x Energy Cell Fragment, 2x Spirit Light Container, 1x Life Fragment
Doing the Inkwater Shrine side quest makes a lot of sense since you’ll end up with your main quest destination after completing it.
From Opher, the weapon master, head to the platform. You will see a huge log acting as a bridge. Position yourself on the left side of it and continuously attack it until the path below it opens up.
Trek your way down and you should see a blue moss at the right. Go to the other side of it and you should see a jump pad. To the right, there is a hidden spirit orb container surrounded by thorns. To get it, use the jump pad but do not cling to the blue moss above it. Instead, maneuver Ori to the right then use a double jump just before you hit the thorns then move to the right to get the spirit light container.
Now, continue to the jump pad and cling to the moss above it. Move to the right and then jump to the hanging ledge to the right. You should see a circle platform with revolving thorns and blue moss at the center. Time your jump and at the upper left side, there is a secret area where you can get a Gorlek Ore.
From the position of the Gorlek ore, jump to the right and you should land to a small platform below. There will be a couple of circle platforms with revolving thorns here.
Time your jump and then jump to the jump pad to the right. Then cling to the wall to the left once you’re in mid-air. Jump to the second jump-pad and quickly move Ori to the left while in mid-air. Once you see the platform with the entrance surrounded by thorns, use a double jump and get the Energy Cell Fragment.
Once you got it, move to the lower right platform. Move forward to the right. You’ll notice that the stones connecting the bridge are cracked. Attack downwards using your Spirit Smash ability and you should get a Life Cell Fragment. If you did not choose to get the Spirit Smash ability from Opher, you’ll have to go back here some other time.
Once you got it, go up and then continue moving to the right. At the end of it, you should get a secret light orb container. Now go back to the previous area. Jump over the 1st jump pad and do the same thing over to get to the upper platform to the right.
Continue moving to the right and activate the combat shrine. You will have to fight a series of monsters and you will get a Shard Slot Upgrade upon completing it. This will increase your active Spirit Shards Slots by 1.

- 2 Hornets – Just let them come at you and hit them once they stop moving.
- 4 hornets and the jumping monster dude.
- 1 Hornets and a Red Jumping Monster Dude. As you can guess, its attack is a little different. Once it hits the ground, it will cause red shockwaves from the left and right direction to hit you. Just jump above it before it hits the ground and attack while you’re in mid-air.
You can activate the combat shrine over and over to get more spirit orbs if you want. Once you’re done, jump to the upper platform to your right. Use the jump and propel Ori to the left so you can cling to the hanging ledge. Continue doing this until you reach the upper platform to the left.
In the next area, you will notice a blue fruit hanging above. Ignore the path above. It is not possible to get there until you get the bash ability. For now, continue to the left and you should see a pole surrounded by thorns.
Jump and crawl your way up to it. Jump and cling to the wall on your left, and then use the pole above it to swing yourself to the upper platform. Get the green orb to your left and continue moving leftwards.
You should see another pole covered with thorns except for the middle area. Use your normal jump so you’ll land exactly in the middle then cling to the wall to your left.
Crawl up and you should see a jumping monster dude to your right and a jump-pad and snail monster to your left. Use the jump-pad and propel Ori to the right. Once you see a pole, use double jump and cling to it.
Now, swing yourself upwards and cling to the double-log hanging above to the left. Climb it and ignore the lamp you’ll see at the upper left portion of your screen. It is not possible to reach that height right now. Instead, jump to the thornless platform to your right.
Move forward continuously until you talk to a couple of Mokis. There will be quick cinematics showing poor little Ku. Once the cutscene is done, the Mokis will pull a lever letting you cross the poisoned river.
RELATED: All Energy Cell Locations in Ori and the Will of the Wisps
Spirit Arc Ability
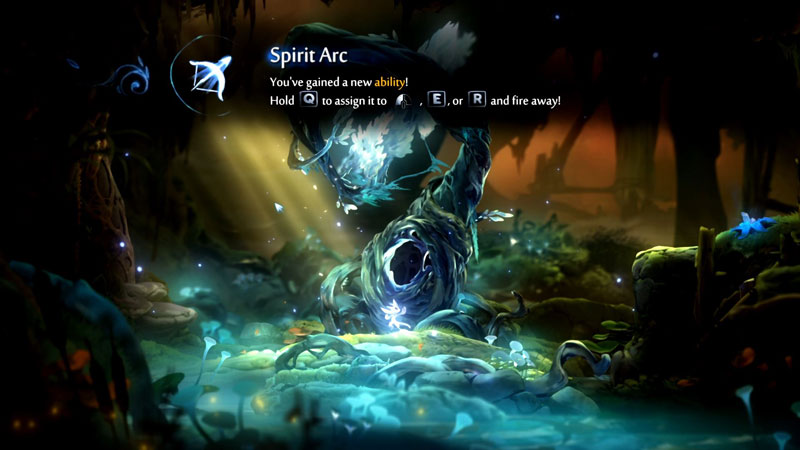
Item(s) you can get: New Ability, 1x Energy Cell Fragment
Jump your way across the river and then cling to the face-like statue. Crawl your way up and you should see a blue bird standing at the top. Don’t bother talking to him as he will not give you anything useful for now. Your goal is to pull the lever to his right. This will drain the poison river below.
Once done, go down and you should see a new path at the lower left. You will encounter a feral cat monster here. Move to the left and then jump your way up.
Once you’re at the platform above, you should see a new downward path that was filled with poison earlier. Go down and you will get a new ability, Spirit Arc. This will let you shoot spirit arrows at an object or monster. You will be using this a lot in the next few areas.
Moving forward, equip the spirit arc ability and then jump into the higher platform to your right. Now, aim and shoot the blue orb found just above the glowing tree. This will elevate the platform to your right allowing you to go back up.
But do not ride the platform just yet. Instead, let it go up then hop to the platform. This will allow you to go into a secret area below it. And to your right, you will acquire an energy cell fragment.
To go back up, shoot the blue orb then quickly hop to the wood surface of the platform we previously used for the energy fragment.
It’s time to open Kwolok’s Hollow. To do that, we’ll need two eyestones.
Guardian of the Marsh Quest – Acquiring the Two Eyestones
Item(s) you can get: 2x Eyestones
Once you’re back in the previous area, go to the platform to your right and then aim for the blue orb above it. It will elevate a platform with a jump pad. You need to quickly move into that jump pad so you can go to the ledge above it.
From there, you should see another blue orb on the upper left. Shoot and it will move a wall out where you can quickly cling to and reach the higher platform to your right.
Once you’re at the higher platform, you should see another jumping pad. Use it and you should see one of the eyestones, but it’s closed. Cling unto the wall blocking the eyestones and using your spirit arc to shoot the blue orb at the upper right corner.
This will open the wall and let you acquire one of the eyestones. One down, one to go.
From the position of the first eye stone, go back down to the previous platform with the jump pad. Then continue to the right. Jump into the blue moss so you can reach the ledge at the upper left corner from the moss.
Once you’re at the ledge, swing up and then use your Spirit Arc while in mid-air. Aim for the blue orb surrounded by thorns to your right. This will open the wall to the 2nd eyestone above it.
Now that you have two eyestones, we need to head back to the area where Tokk (the bluebird) is.
From the position of the 2nd eyestone, go back down to the area with the blue moss. From there, go down again while quickly moving to the right mid-air. Cling unto the hanging vine and then jump unto the platform to your right.
Continue moving to the right and you should be back to the area where Tokk is. Once you’re near the face-like statue, Ori will place the 2 eyestones on the empty sockets of the statue. This will make the stone statue move and open its mouth.
Congratulation, you have now opened Kwolok’s Hollow. If you followed everything from this walkthrough up until this point you should be at 73% completion for the Inkwater Marsh Map.
Before proceeding, you can revisit some areas to get a couple of items now. Check the area completion below and see Gorlek Ore #1, Life Pack Spirit Shard and Secret Combat Shrine.
Revisiting those areas will make our current map completion to 77%. To achieve 100% map completion, proceed to the Area Completion in the next section.
Anyway, you can go ahead and check the Kwolok’s Hollow Walkthrough for the next map guide.
Area Completion
In this section, I’ll list down some of the additional locations we can visit so we can get 100% map completion for the Inkwater Marsh map.
Take note of the requirements so you’d know if it is possible to get a certain collectible at your point in the game.
If you’re stuck and can’t figure out how to get a specific collectible listed in the table below, simply click the hyperlink for the specific collectible. It will redirect you to the specific section of the post describing how to get them. I made sure to use the same location numberings so you can easily cross-reference them just in case.
Here are all the additional collectibles you can acquire to get 100% map completion in Inkwater Marsh:
| Item | Map Screenshot (click to enlarge) | Requirements |
|---|---|---|
| Gorlek Ore Location #3 | 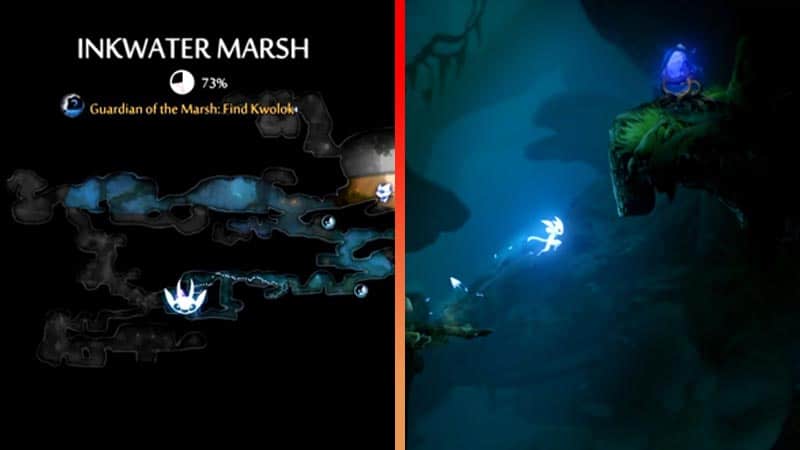 | Double Jump |
| Gorlek Ore Location #4 | 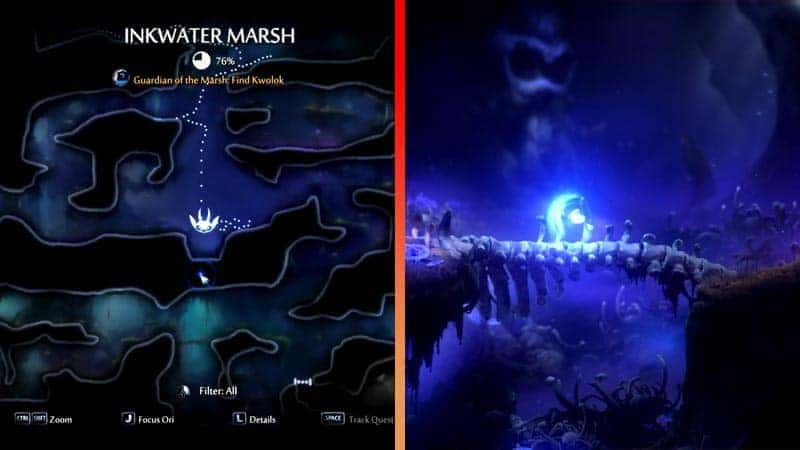 | Spirit Smash |
| Gorlek Ore Location #5 |  | Clear The Wellspring (Purify the poisoned water) |
| Gorlek Ore Location #6 |  | Burrow |
| Energy Cell Location #3 |  | Bash |
| Energy Cell Location #4 | 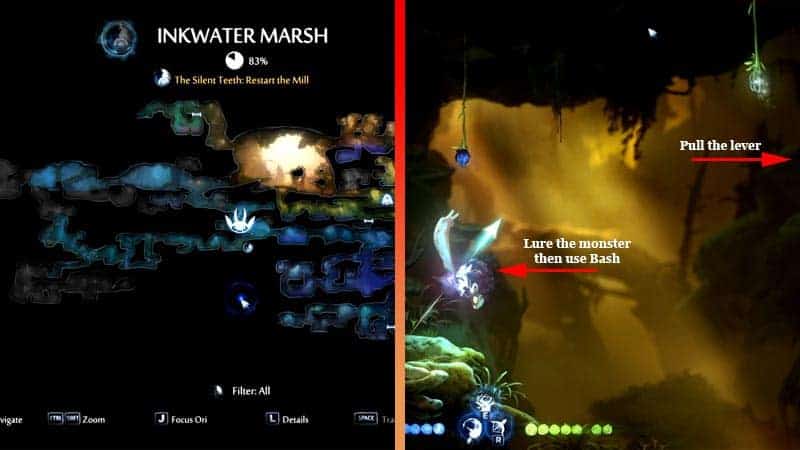 | Bash + Grapple (optional) |
| Energy Cell Location #5 | 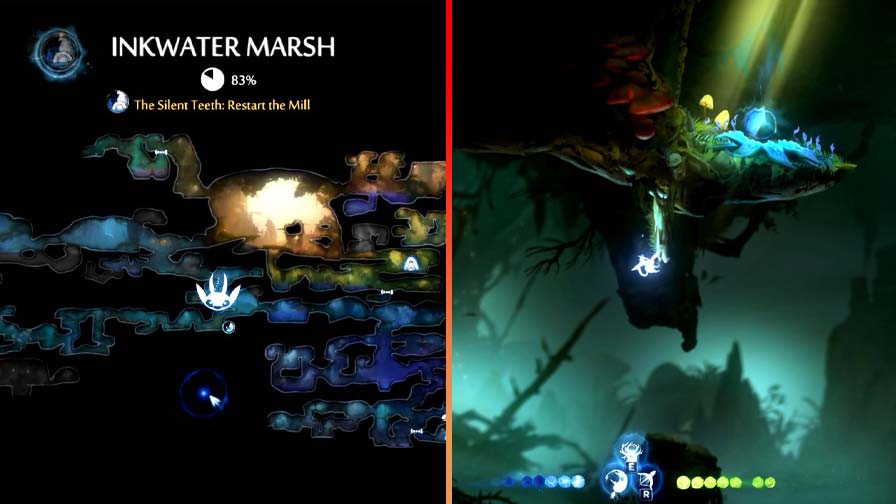 | Sticky + Double Jump +Dash +Triple Jump (optional) Or Light Burst + Bash |
| Energy Cell Location #6 | 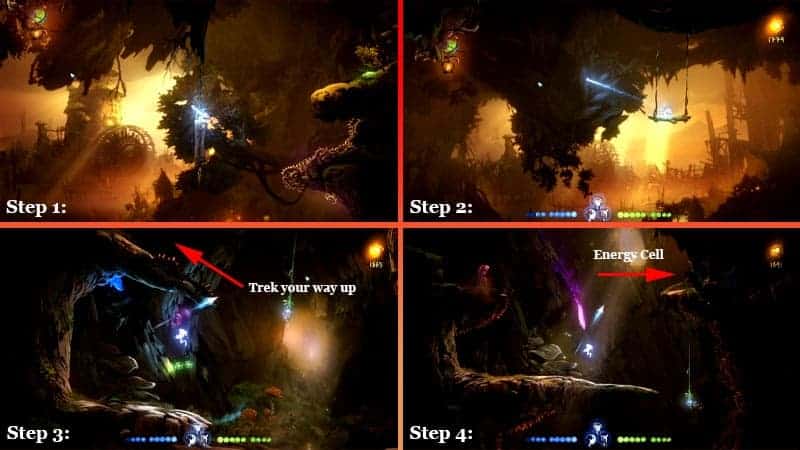 | Spirit Arc + Double Jump + Triple Jump + Dash + Bash Or Swim Dash + Bash (Luma Pools Entrance) |
| Life Pack Spirit Shard | 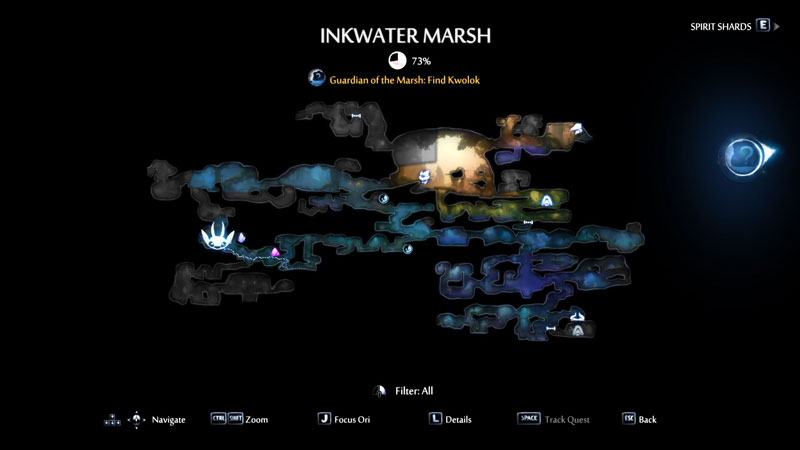 | Double Jump + Spirit Smash (optional but recommended) |
| Shard Slot Upgrade Location #2 | 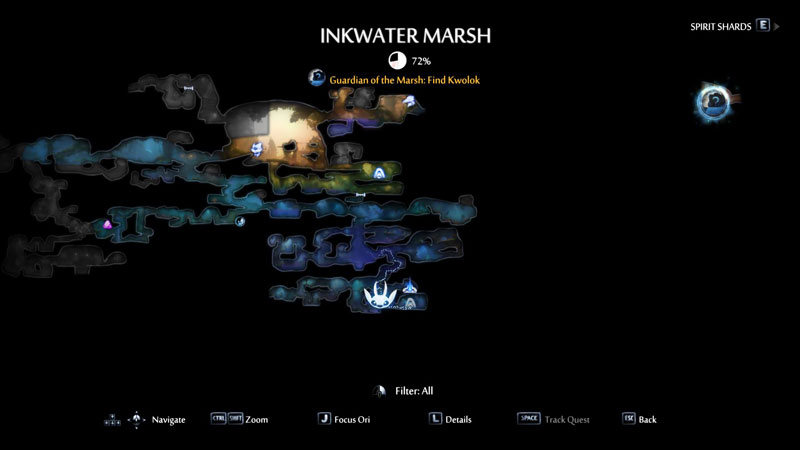 | Spirit Smash |
| Spirit Trial | 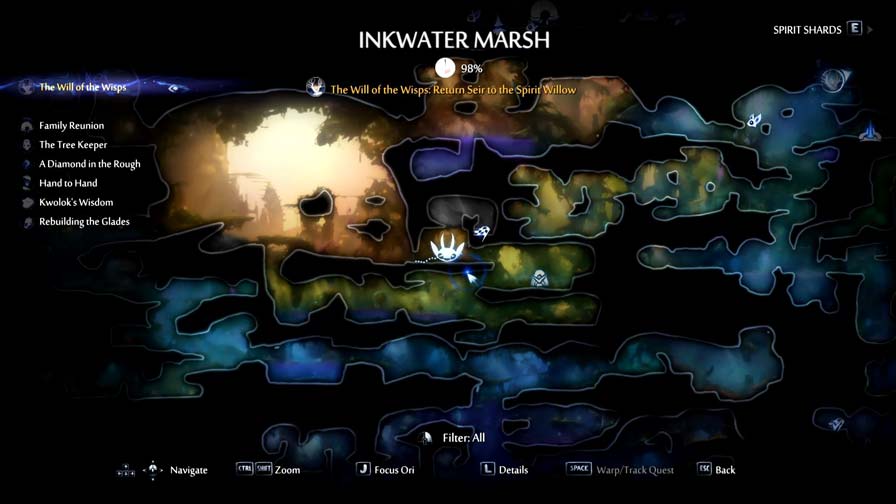 | Grapple |
| Spirit Light Container #1 |  | Spirit Arc + Double Jump + Triple Jump + Dash + Bash Or Swim Dash + Bash (Luma Pools Entrance) |
| Spirit Light Container #2 | 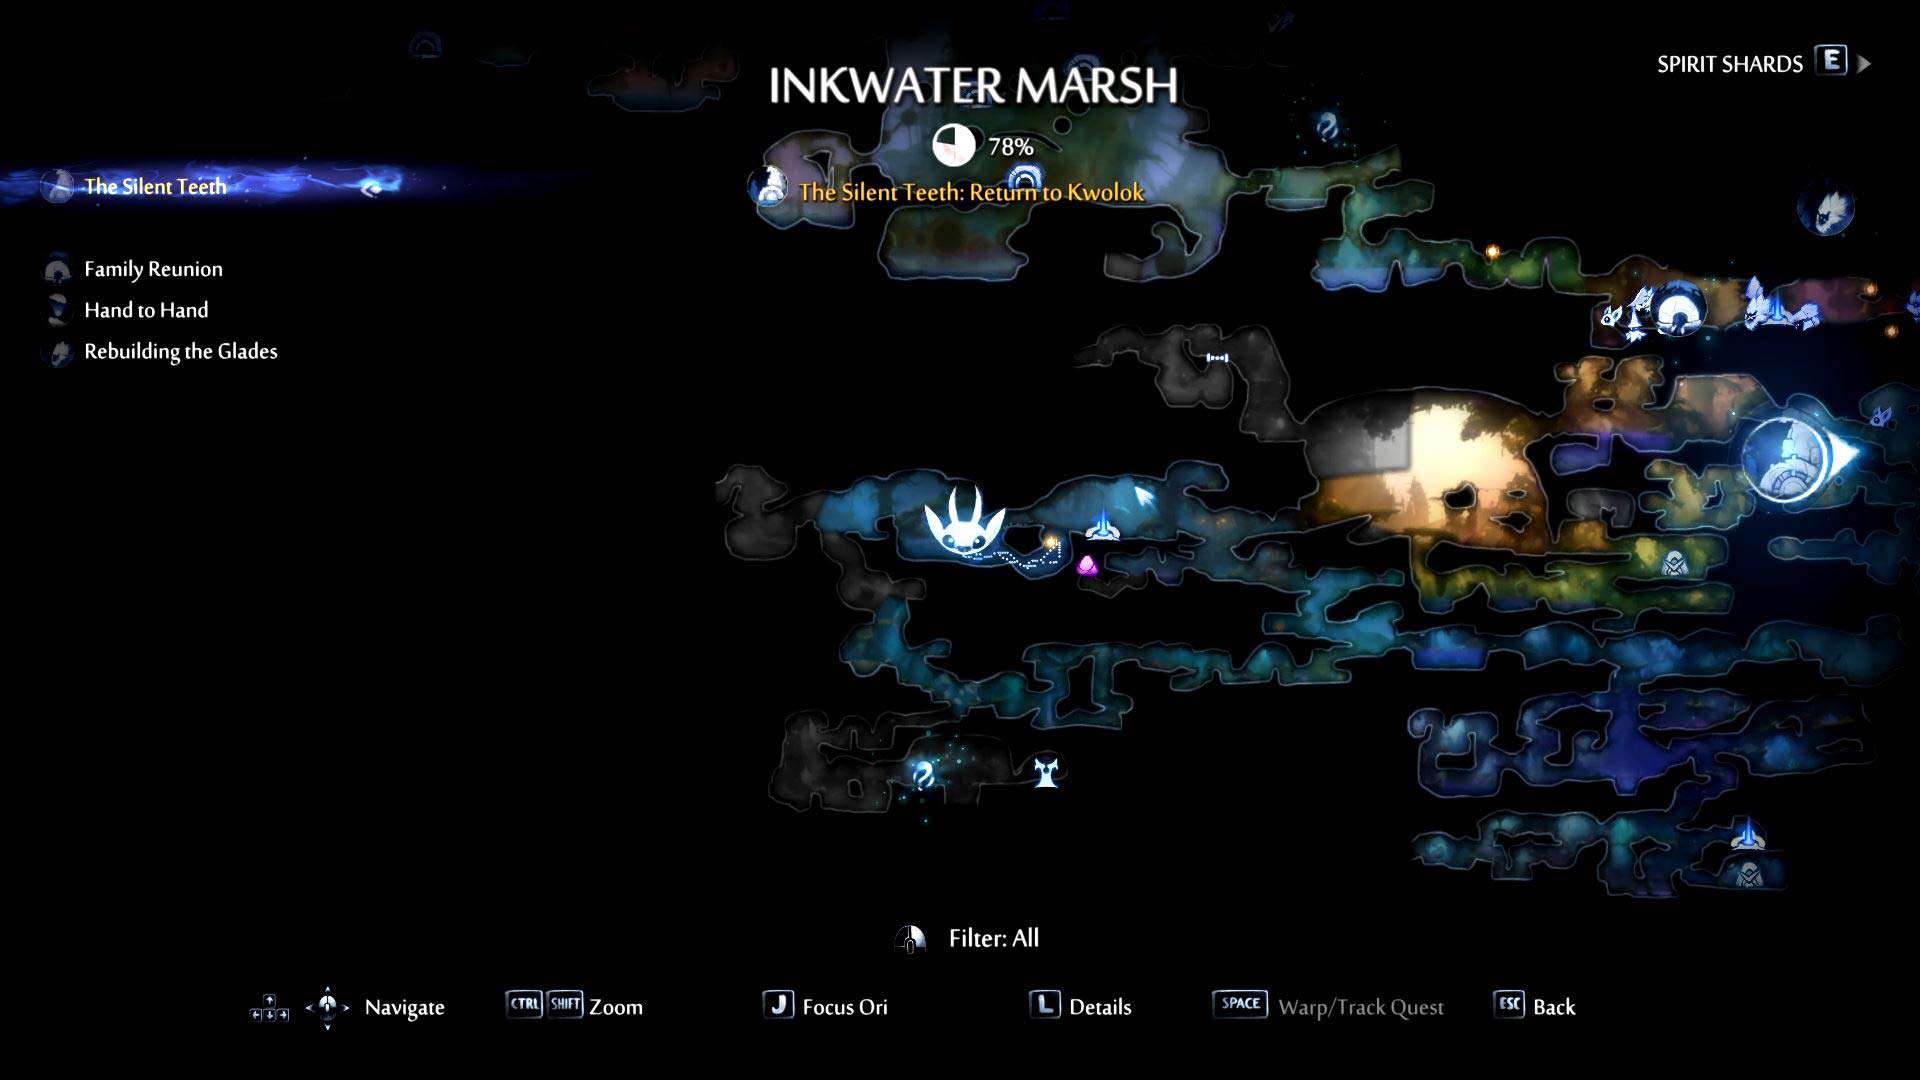 | Clear The Wellspring (Purify the poisoned water) |
| Spirit Light Container #3 | | Bash + Sticky (optional) + Triple Jump (optional) |
| Spirit Light Container #4 | 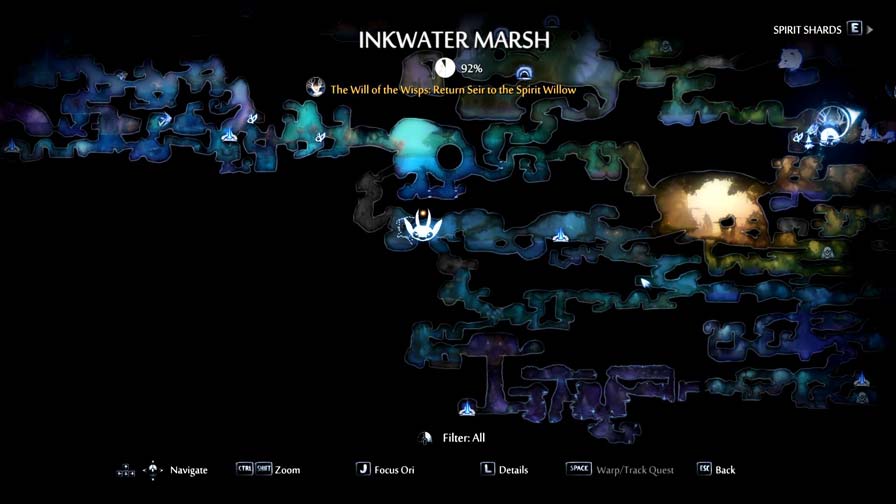 | Bash + Triple Jump (optional) Or Enter from the Luma Pools Entrance |
| Spirit Light Container #5 |  | Swim Dash |