Are you looking for an overview of Sayu’s kit?
In this post, we’ll take a look at Sayu’s skill description, her talent and character ascension materials, constellation info and some of her strengths and weaknesses.
Content Overview
Character Overview

Sayu
| Rarity: | 4-Star |
| Weapon: | Claymore |
| Element: | Anemo |
| Recommended Role: | Heal Support |
| Location: | Inazuma |
| How to Acquire: | Character Event Wish Permanent Wish |
Base Stats
| Level | Ascension Bonus | HP | Base Attack | Base Defense |
|---|---|---|---|---|
| level 1 | 0 Elemental Mastery | 994 | 20 | 62 |
| level 80 | 72 Elemental Mastery | 10505 | 216 | 660 |
| Ascend Level 7 | 96 Elemental Mastery | 11033 | 227 | 693 |
| level 90 | 96 Elemental Mastery | 11854 | 244 | 745 |
Strengths
- Can provide healing whenever she triggers the Swirl reaction with both her elemental skill and burst.
- Elemental burst can provide both healing and damage while off-field once you unlock her first constellation.
- As an Anemo character, she can provide both healing and elemental resistance shred via the Virisdescent Venerer set.
- Elemental burst has a big AoE.
- At C4, she can recover energy while triggering Swirl, increasing the uptime of her elemental burst.
- Healing scales off of her attack and elemental mastery.
Weaknesses
- Healing capability is limited without her C1 constellation.
- The damage scaling of her skills is low.
- Her elemental skill might be a little hard to control at first, making it prone to missed attacks.
- Elemental burst has a high energy cost.
Skills Description
Yoohoo Art: Fuuin Dash
See the full talent scaling here
| Elemental Particles (Press): | 2 Anemo Elemental Particles |
| Elemental Particles (Hold): | 1 Anemo Elemental Particle (On Initial Hit) Up to 3 Anemo Elemental Particles (On rolling hits) 2 Anemo Elemental Particles (On Last Kick Hit) |
| Max Duration: | 10 Seconds |
| Cooldown: | 6-11 Seconds |
| Internal Cooldown: | Fuufuu Windwheel (Anemo): 2.5 Second or 3 Hits Fuufuu Windwheel (Elemental Absorption): 2.5 Second or 3 Hits Fuufuu Whirlwind Kick: No ICD |
| Elemental Gauge: | Fuufuu Windwheel: 1 Unit Fuufuu Whirlwind Kick: 1 Unit Fuufuu Windwheel Absorbed Cryo (Against Water): 2 Units |
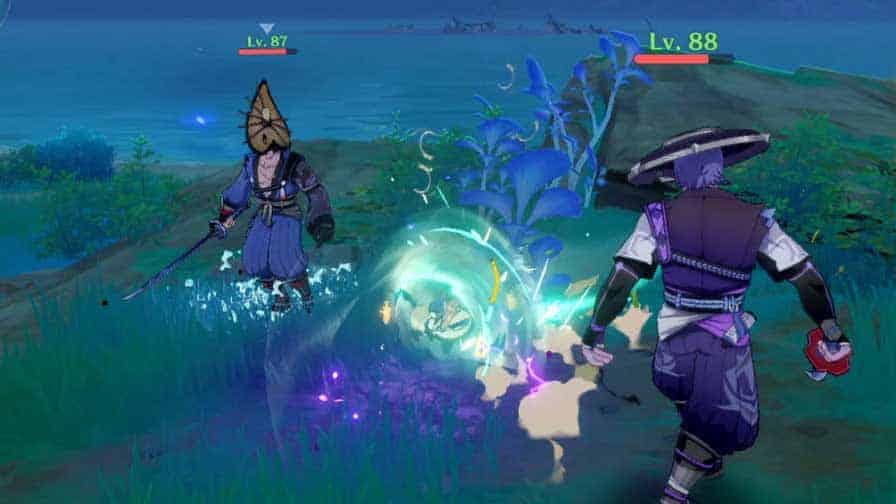
Sayu curls up into a rolling Fuufuu Windwheel and smashes into opponents at high speed, dealing Anemo Damage.
When the duration ends, she unleashes a Fuufuu Whirlwind Kick, dealing AoE Anemo Damage.
With the 1st ascension passive talent unlocked, this skill will provide a small amount of healing to the whole party if this skill activates the Swirl elemental reaction.
This skill has a press and a hold option:
Press:
- Sayu will roll forward a short distance then use FuuFuu Whirlwind Kick.
- The press option has lower damage.
- The press option has a quicker cooldown of 6 seconds.
- The 2nd constellation will further increase its damage by 3.3%.
Hold:
- Sayu rolls continuously in the Fuufuu Windwheel state until you let it go or the max duration ends.
Press the elemental skill button again (“E” on PC) to end her rolling early. - It has a maximum duration of 10 seconds.
- The skill will only enter its cooldown once you release it or the maximum duration ends.
- The longer you used up its duration, the longer the skill will go on cooldown.
- While rolling, Sayu’s resistance to interruptions is increased.
- You can control Sayu’s rolling direction during this state.
- The hold option can deal higher damage to opponents.
- The hold option can trigger elemental absorption whenever you hit an opponent while rolling.
The 2nd constellation will increase its damage based on the duration you stayed at the Windwheel (rolling) state.
Yoohoo Art: Mujina Flurry
See the full talent scaling here
| Energy Cost: | 80 energy |
| Duration: | 12 seconds |
| Cooldown: | 20 Seconds |
| Internal Cooldown: | Activation: No ICD Damage Over Time: 2.5 Seconds or 3 Hits |
| Elemental Gauge: | Activation: 1 Unit DoT: 1 Unit |
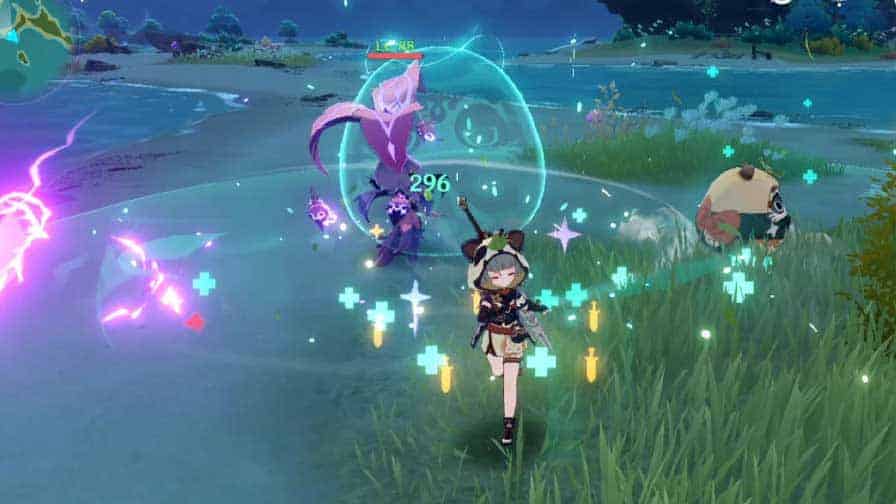
Sayu summons Muji-Muji Daruma unto the field that deals Anemo damage on enemies and provides healing to all nearby party members.
This skill has the following effects:
- Once you activate the elemental burst, it will Anemo damage to all nearby enemies.
- At specific intervals, the skill will activate one of the following effects:
- Deal Anemo damage to enemies within its AoE if your active character has more than 70% HP
- Provides healing if your active character has 70% or less HP.
- If there are no opponents nearby, it will heal active characters nearby even if they have 70% HP or more.
- Her 1st constellation will remove all the abovementioned restrictions and provide both healing and damage to enemies within its AoE.
- With the 1st ascension passive talent unlocked, Sayu will heal 300 HP to all party members if this skill activates the Swirl reaction.
- The 1st ascension passive talent will also provide additional healing for every point of Sayu’s Elemental Mastery.
- With the 4th ascension passive talent unlocked, its AoE is increased.
- The 4th ascension passive talent will also provide an additional 20% of the healed HP to nearby allies.
- Based on her elemental mastery, the 6th constellation will increase its damage and healing capabilities.
Shuumatsuban Ninja Blade
See the full talent scaling here
| Charged Attack Stamina Cost: | 40 Stamina per second |
| Charged Attack Max Duration: | 5 seconds |
| Internal Cooldown: | Normal Attack: 2.5 Seconds or 3 Hits Charged Attack: Shares With Normal Attack Plunge Attack: No ICD |
| Elemental Gauge: | Normal Attack: 1 Unit Per Hit Cyclic Charge Attack: 1 Unit Per Hit Final Slash: 1 Unit Plunging Attack: 1 Unit |
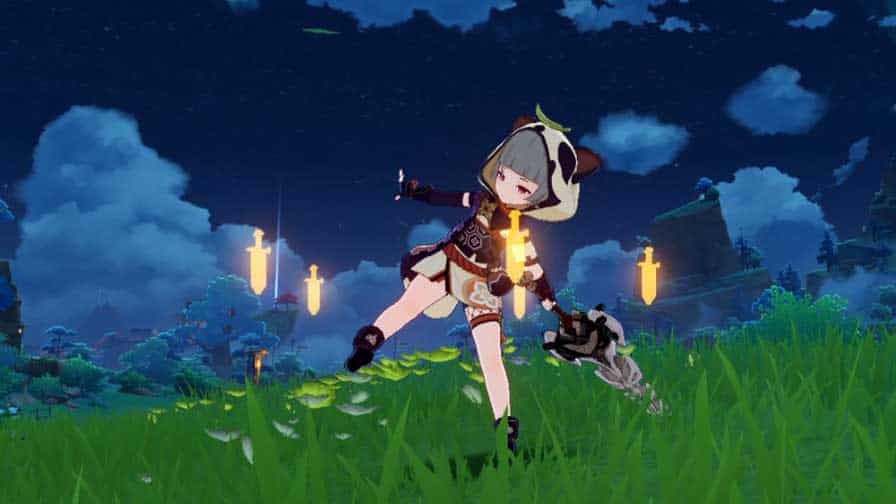
Normal Attack:
Sayu performs up to 4 consecutive strikes with her claymore, dealing physical damage to opponents.
Charged Attack:
Drains Stamina over time to perform continuous spinning attacks against all nearby opponents.
At the end of the sequence, perform a more powerful slash.
Plunge Attack:
Plunges from mid-air to strike the ground below, damaging enemies along the path and dealing AoE physical damage upon impact.
Passive Talents
| Name | Description |
|---|---|
 Someone More Capable (Unlocks at character ascension 1) | When Sayu triggers a Swirl reaction while active, she heals all your characters and nearby allies for 300 HP. She will also heal an additional 1.2 HP for every point of Elemental Mastery she has. This effect can be triggered once every 2s. |
 No Work Today! (Unlocks at character ascension 4) | The Muji-Muji Daruma created by Yoohoo Art: Mujina Flurry gains the following effects: – When healing a character, it will also heal characters near that healed character for 20% the amount of HP. – Increases the AoE of its attack against opponents. |
 Yoohoo Art: Silencer’s Secret (Automatically Unlocked) | When Sayu is at the party, your characters will not startle Crystalflies and certain other animals when getting near them. Check the “Other” sub-category of the “Living Beings / Wildlife” section in the Archive for creatures this skill works on. |
Constellation Info
| Name | Description |
|---|---|
 Multi-Task no Jutsu (C1) | The Muji-Muji Daruma created by Yoohoo Art: Mujina Flurry (elemental burst) will ignore HP limits and can simultaneously attack nearby opponents and heal characters. |
 Egress Prep (C2) | Yoohoo Art: Fuuin Dash gains the following effects: DMG of Fuufuu Whirlwind Kick in Tapping (mobile)/Press (PC & PlayStation) Mode increased by 3.3%. Every 0.5 seconds in the Fuufuu Windwheel state will increase the DMG of this Fuufuu Whirlwind Kick by 3.3%. The maximum DMG increase possible through this method is 66%. |
 Eh, the Bunshin Can Handle It (C3) | Increases the Level of Yoohoo Art: Mujina Flurry by 3. Maximum upgrade level is 15. |
 Skiving: New and Improved (C4) | Sayu recovers 1.2 Energy when she triggers a Swirl reaction. This effect occurs once every 2 seconds. |
 Speed Comes First (C5) | Increase the Level of Yoohoo Art: Fuuin Dash by 3. Maximum upgrade level is 15. |
 Sleep O’Clock (C6) | The Muji-Muji Daruma created by Sayu’s Yoohoo Art: Mujina Flurry will now also benefit from her Elemental Mastery. Each point of Sayu’s Elemental Mastery will produce the following effects: – Increases the damage dealt by the Muji-Muji Daruma’s attacks by 0.2% ATK. – A maximum of 400% ATK can be gained via this method. – Increases the HP restored by the Muji-Muji Daruma (elemental burst) by 3. – A maximum of 6,000 additional HP can be restored in this manner. |
Brief Build Recommendation
Sayu is best used as a healer, resistance debuffer, or battery for other Anemo main characters like Xiao.
As such, here are our quick recommendations for her weapons and artifact set:
Weapon
| Weapon | Reason |
|---|---|
 Wolf’s Gravestone | – Very high base attack. – Additional attack percent bonus to increase healing capabilities. – Additional attack bonus for the whole party once its weapon effect activates. |
 Favonius Greatsword | – Very high energy recharge stat. – Additional elemental particles when you get a critical hit |
 Sacrificial Greatsword | – Decent energy recharge stat. – Resets elemental skill to gain more elemental particles. |
Artifact Set
| Set | Reason |
|---|---|
 Viridescent Venerer | This will make her an elemental resistance shredder on top of being a healer. |
Ascension and Talent Materials
| Required Level | Required Materials |
|---|---|
| Level 20 (Ascension 1) | x 1 Vayuda Turquoise Sliver x 3 Crystal Marrow x 3 Whopperflower Nectar x 20,000 |
| Level 40 (Ascension 2) | x 3 Vayuda Turquoise Fragment x 10 Crystal Marrow x 15 Whopperflower Nectar x 2 Marionette Core x 40,000 Mora |
| Level 50 (Ascension 3) | x 20 Crystal Marrow x 12 Shimmering Nectar x 4 Marionette Core x 60,000 Mora |
| Level 60 (Ascension 4) | x 3 Vayuda Turquoise Chunk x 30 Crystal Marrow x 18 Shimmering Nectar x 8 Marionette Core x 80,000 Mora |
| Level 70 (Ascension 5) | x 6 Vayuda Turquoise Chunk x 45 Crystal Marrow x 12 Energy Nectar x 12 Marionette Core x 100,000 Mora |
| Level 80 (Ascension 6) | x 6 Vayuda Turquoise Gemstone x 60 Crystal Marrow x 24 Energy Nectar x 20 Marionette Core x 120,000 Mora |
| Talent Level | Required Materials |
|---|---|
| Level 2 Ascension 2 (Level 40) | x 3 Teachings of Light x 6 Whopperflower Nectar x 12,500 Mora |
| Level 3 Ascension 3 (Level 40) | x 2 Guide to Light x 3 Shimmering Nectar x 17,500 Mora |
| Level 4 Ascension 3 (Level 50) | x 4 Guide to Light x 4 Shimmering Nectar x 25,000 Mora |
| Level 5 Ascension 4 (Level 60) | x 6 Guide to Light x 6 Shimmering Nectar x 30,000 Mora |
| Level 6 Ascension 4 (Level 60) | x 9 Guide to Light x 9 Shimmering Nectar x 37,500 Mora |
| Level 7 Ascension 5 (Level 20) | x 4 Philosophies of Light x 4 Energy Nectar x 120,000 Mora |
| Level 8 Ascension 5 (Level 70) | x 6 Philosophies of Light x 6 Energy Nectar x 260,000 Mora |
| Level 9 Ascension 6 (Level 70) | x 12 Philosophies of Light x 9 Energy Nectar x 450,000 Mora |
| Level 10 Ascension 6 (Level 80) | x 16 Philosophies of Light x 12 Energy Nectar x 700,000 Mora |
Talent Scaling
| Skill Level | Fuufuu Windwheel Damage | Press Fuufuu Whirlwind Kick Damage | Fuufuu Whirlwind Kick Hold Damage | Fuufuu Windwheel Elemental Damage | Fuufuu Whirlwind Kick Elemental Damage |
|---|---|---|---|---|---|
| Level 1 | 36% | 158.40% | 217.60% | 16.80% | 76.16% |
| Level 2 | 38.70% | 170.28% | 233.92% | 18.06% | 81.87% |
| Level 3 | 41.40% | 182.16% | 250.24% | 19.32% | 87.58% |
| Level 4 | 45% | 198% | 272% | 21% | 95.20% |
| Level 5 | 47.70% | 209.88% | 288.32% | 22.26% | 100.91% |
| Level 6 | 50.40% | 221.76% | 304.64% | 23.52% | 106.62% |
| Level 7 | 54% | 237.60% | 326.40% | 25.20% | 114.24% |
| Level 8 | 57.60% | 253.44% | 348.16% | 26.88% | 121.86% |
| Level 9 | 61.20% | 269.28% | 369.92% | 28.56% | 129.47% |
| Level 10 | 64.80% | 285.12% | 391.68% | 30.24% | 137.09% |
| Level 11 | 68.40% | 300.96% | 413.44% | 31.92% | 144.70% |
| Level 12 | 72% | 316.80% | 435.20% | 33.60% | 152.32% |
| Level 13 | 76.50% | 336.60% | 462.40% | 35.70% | 161.84% |
| Level 14 | 81% | 356.40% | 489.60% | 37.80% | 171.36% |
| Level 15 | 85.50% | 376.20% | 516.80% | 39.90% | 180.88% |
| Skill Level | Skill Activation Damage | Skill Activation Healing | Muji-Muji Daruma Damage | Muji-Muji Daruma Healing |
|---|---|---|---|---|
| Level 1 | 116.80% | 92.16% ATK + 577 | 52% | 79.87% ATK + 500 |
| Level 2 | 125.56% | 99.07% ATK + 635 | 55.90% | 85.86% ATK + 550 |
| Level 3 | 134.32% | 105.98% ATK + 698 | 59.80% | 91.85% ATK + 605 |
| Level 4 | 146% | 115.2% ATK + 765 | 65% | 99.84% ATK + 663 |
| Level 5 | 154.76% | 122.11% ATK + 837 | 68.90% | 105.83% ATK + 726 |
| Level 6 | 163.52% | 129.02% ATK + 914 | 72.80% | 111.82% ATK + 792 |
| Level 7 | 175.20% | 138.24% ATK + 996 | 78% | 119.81% ATK + 863 |
| Level 8 | 186.88% | 147.46% ATK + 1083 | 83.20% | 127.8% ATK + 938 |
| Level 9 | 198.56% | 156.67% ATK + 1174 | 88.40% | 135.78% ATK + 1017 |
| Level 10 | 210.24% | 165.89% ATK + 1270 | 93.60% | 143.77% ATK + 1101 |
| Level 11 | 221.92% | 175.1% ATK + 1371 | 98.80% | 151.76% ATK + 1188 |
| Level 12 | 233.60% | 184.32% ATK + 1477 | 104% | 159.74% ATK + 1280 |
| Level 13 | 248.20% | 195.84% ATK + 1588 | 110.50% | 169.73% ATK + 1376 |
| Level 14 | 262.80% | 207.36% ATK + 1703 | 117% | 179.71% ATK + 1476 |
| Level 15 | 277.40% | 218.88% ATK + 1824 | 123.50% | 189.7% ATK + 1580 |
| Skill Level | 1st Hit Damage | 2nd Hit Damage | 3rd Hit Damage | 4th Hit Damage |
|---|---|---|---|---|
| Level 1 | 72.24% | 71.38% | 43.43% + 43.43% | 98.13% |
| Level 2 | 78.12% | 77.19% | 46.97% + 46.97% | 106.11% |
| Level 3 | 84% | 83% | 50.5% + 50.5% | 114.10% |
| Level 4 | 92.40% | 91.30% | 55.55% + 55.55% | 125.51% |
| Level 5 | 98.28% | 97.11% | 59.09% + 59.09% | 133.50% |
| Level 6 | 105% | 103.75% | 63.13% + 63.13% | 142.63% |
| Level 7 | 114.24% | 112.88% | 68.68% + 68.68% | 155.18% |
| Level 8 | 123.48% | 122.01% | 74.23% + 74.23% | 167.73% |
| Level 9 | 132.72% | 131.14% | 79.79% + 79.79% | 180.28% |
| Level 10 | 142.80% | 141.10% | 85.85% + 85.85% | 193.97% |
| Level 11 | 154.35% | 152.51% | 92.79% + 92.7% | 209.66% |
| Level 12 | 167.93% | 165.93% | 100.96% + 100.96% | 228.11% |
| Level 13 | 181.52% | 179.35% | 109.13% + 109.13% | 246.56% |
| Level 14 | 195.10% | 192.78% | 117.29% + 117.29% | 265.01% |
| Level 15 | 209.92% | 207.42% | 126.2% + 126.2% | 285.14% |
| Skill Level | Charged Attack Spinning Damage | Charged Attack Final Damage |
|---|---|---|
| Level 1 | 62.55% | 113.09% |
| Level 2 | 67.64% | 122.30% |
| Level 3 | 72.73% | 131.50% |
| Level 4 | 80% | 144.65% |
| Level 5 | 85.09% | 153.86% |
| Level 6 | 90.91% | 164.38% |
| Level 7 | 98.91% | 178.84% |
| Level 8 | 106.91% | 193.31% |
| Level 9 | 114.91% | 207.77% |
| Level 10 | 123.64% | 223.55% |
| Level 11 | 133.64% | 241.63% |
| Level 12 | 145.40% | 262.89% |
| Level 13 | 157.16% | 284.16% |
| Level 14 | 168.92% | 305.42% |
| Level 15 | 181.75% | 328.62% |
| Skill Level | Plunge Damage | Low Plunge Damage | High Plunge Damage |
|---|---|---|---|
| Level 1 | 74.59% | 149.14% | 186.29% |
| Level 2 | 80.66% | 161.28% | 201.45% |
| Level 3 | 86.73% | 173.42% | 216.62% |
| Level 4 | 95.40% | 190.77% | 238.28% |
| Level 5 | 101.47% | 202.91% | 253.44% |
| Level 6 | 108.41% | 216.78% | 270.77% |
| Level 7 | 117.95% | 235.86% | 294.60% |
| Level 8 | 127.49% | 254.93% | 318.42% |
| Level 9 | 137.03% | 274.01% | 342.25% |
| Level 10 | 147.44% | 294.82% | 368.25% |
| Level 11 | 157.85% | 315.63% | 394.24% |
| Level 12 | 168.26% | 336.44% | 420.23% |
| Level 13 | 178.66% | 357.25% | 446.23% |
| Level 14 | 189.07% | 378.06% | 472.22% |
| Level 15 | 199.48% | 398.87% | 498.21% |
Compatible Characters
| Element | Characters |
|---|---|
| Pyro | Yanfei Hu Tao Diluc Klee Xiangling |
| Cryo | Aloy Kamisato Ayaka Kaeya Rosaria Ganyu Chongyun |
| Hydro | Mona Xingqiu Childe Kamisato Ayato |
| Electro | Beidou Fischl Keqing Raiden Shogun Yae Miko Kujou Sara |
| Anemo | Xiao Kazuha (main dps) Anemo Traveler |
| Geo | None |